 Save to Pinterest
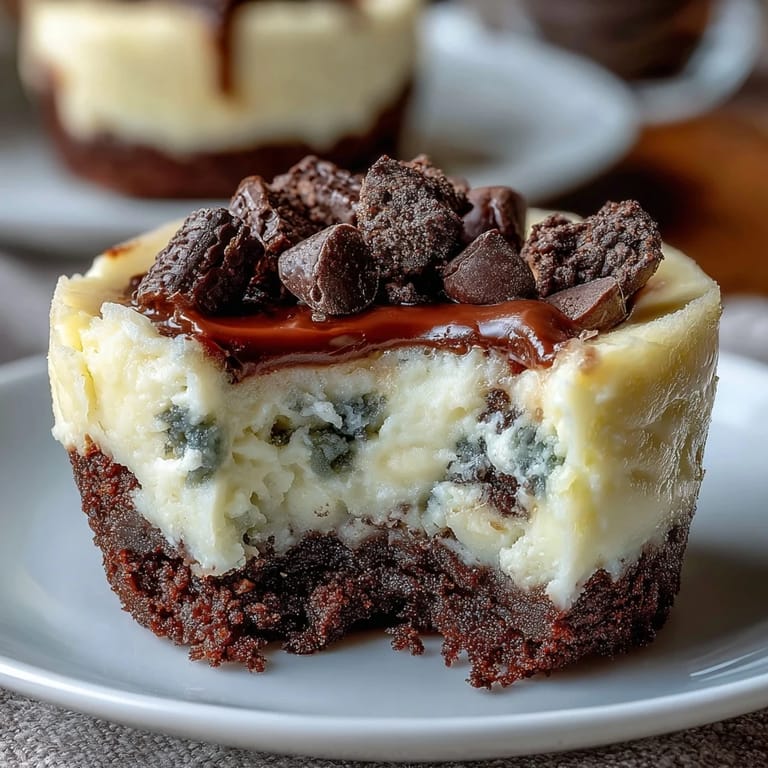
 There’s a certain energy in the kitchen just before a party, when you’re sliding trays of mini cheesecakes into the oven and the air fills with warm vanilla and melted chocolate. The first time I made these Mini Cheesecake Bites with Oreo Crust, I wasn’t aiming for anything fancy—just something fun that would disappear quickly at a friend’s birthday. I remember the little thrill as the rich aroma of baked Oreos mingled with creamy filling, promising the kind of dessert that makes people linger around the dessert table. It’s the kind of recipe you find yourself sneaking just one more of, and before you know it, the whole plate’s empty. These bites have a way of making any occasion feel unexpectedly special.
I once brought a batch to a sunny afternoon picnic, where my friends kept circling back just to swipe another cool cheesecake from the tin. We ended up stretched out on a plaid blanket under a big oak tree, passing bites around and laughing at how quickly the stack disappeared. Apparently, they’re easy to eat even when all you have for a plate is a napkin in your lap!
Ingredients
- Oreo cookies: The real secret is using them whole—you want that creamy center mixed into the crust for extra richness.
- Unsalted butter: Melting it first helps the Oreo crumbs bind together, and it bakes into a firm, dark chocolatey base.
- Cream cheese: Softening it thoroughly is the trick to achieving that classic smooth, lump-free cheesecake texture.
- Granulated sugar: Just the right sweetness to balance the tang of cream cheese and the bold crust.
- Large eggs: One at a time, they give the filling body and silkiness—crack them in separately to avoid little bits of shell.
- Vanilla extract: A splash rounds out the flavor, and I wouldn’t skip it unless you have a very special extract you prefer.
- Sour cream: Only a quarter cup, but it softens the filling and gives that classic cheesecake tang.
- Salt: Just a pinch brightens every bite.
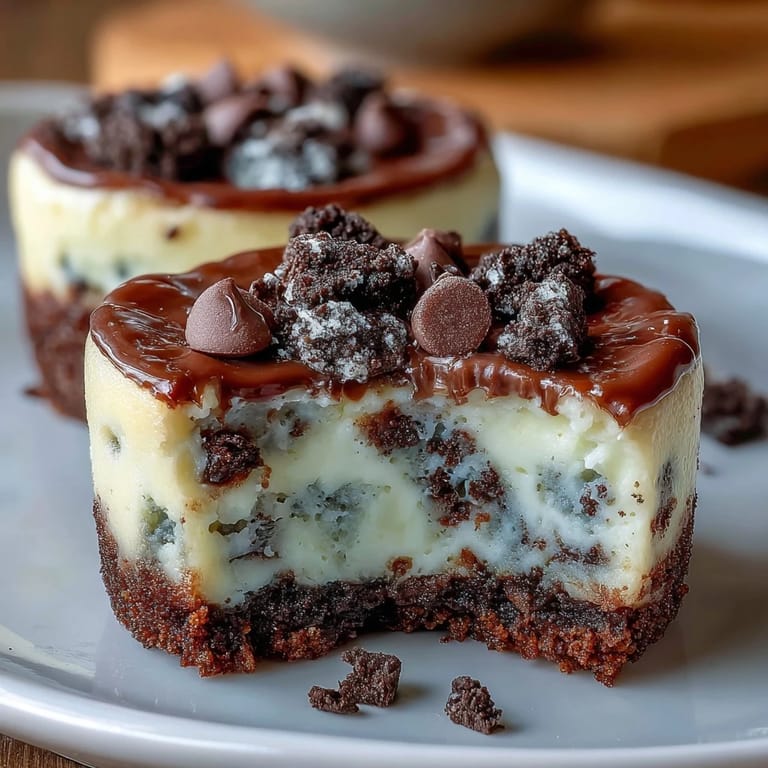
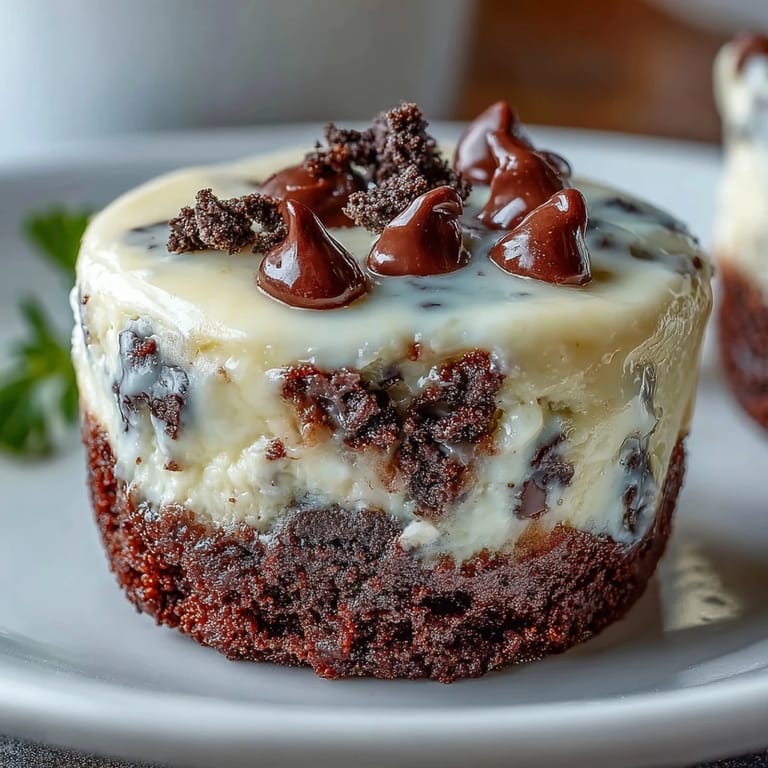
- Mini chocolate chips, chopped Oreos, or fresh berries: These optional toppings make each bite unique—let guests pick their favorites!
Tired of Takeout? 🥡
Get 10 meals you can make faster than delivery arrives. Seriously.
One email. No spam. Unsubscribe anytime.
Instructions
- Get Ready:
- Preheat your oven to 325°F (160°C) and line a 24-cup mini muffin tin with paper liners—the anticipation starts here.
- Make the Oreo Crust:
- Add Oreos (complete with filling) to a food processor and pulse into fine crumbs. Pour in melted butter, pulse again, and sneak a little taste—it should hold together when you squeeze it.
- Form Your Bases:
- Spoon about a tablespoon of crumb mixture into each cup and press down firmly—using the back of a spoon or clean fingers makes quick work of it.
- Par-Bake the Crusts:
- Pop the tray in for 5 minutes to set the base, then take out and let cool while you ready the filling.
- Mix Cheesecake Filling:
- In a big bowl, beat softened cream cheese until completely smooth. Add sugar, blend it in, then mix in eggs one at a time. Stir in vanilla, sour cream, and a pinch of salt until just combined—don’t overmix.
- Fill the Cups:
- Divide the creamy filling among the cups, filling almost to the top. It’s okay if it’s a little messy—that’s part of the fun.
- Bake to Perfection:
- Bake for 12-14 minutes until the centers look set but still have a slight jiggle. Don’t be tempted to overbake; a little wobble is ideal for creamy bites.
- Cool and Chill:
- Let the cheesecakes cool in the tin at room temperature for about 30 minutes, then transfer to the fridge for at least 1 hour to set fully.
- Add the Finishing Touch:
- Right before serving, top each bite with mini chocolate chips, chopped Oreos, or a few fresh berries if you want to brighten things up.
 Save to Pinterest
 I’ll never forget my niece’s birthday when these cheesecake bites were gone before the birthday cake even made its entrance. Watching everyone’s faces light up at the first taste was sweeter than all the sugar in the pan.
Making Ahead: Stress-Free Entertaining
Baking these a day ahead has saved me more than once—the flavor actually seems to deepen overnight, and chilling overnight means you only need to plate and decorate before guests arrive.
Toppings That Change the Game
If you’re feeling creative, set out a little topping bar: crumbled Oreos, mini chocolate chips, and fresh raspberries. Suddenly, plain bites become a pick-your-own adventure, and everyone gets exactly what they’re craving.
Troubleshooting: Getting the Texture Just Right
The one thing to watch is overbaking: once the bites lose their jiggle, they risk turning dense instead of creamy. Always err on the side of underbaked; they’ll firm up perfectly in the fridge.
- A toothpick shouldn’t come out clean—a little residue is good.
- If the tops crack, don’t worry—toppings will cover it up.
- Don’t skip the liners—it makes removing and serving a breeze.
 Save to Pinterest
 Whether you’re making these for a celebration or a quiet Tuesday night, there’s a bite-sized joy tucked into each little cup. Here’s to desserts that invite sticky fingers and second helpings!
Questions & Answers
- → How do I prevent a lumpy filling?
Ensure the cream cheese is fully softened to room temperature, then beat it until smooth before adding sugar and eggs. Scrape the bowl sides frequently to incorporate everything evenly and avoid lumps.
- → Can I use different sandwich cookies for the crust?
Yes. Any chocolate sandwich cookie works; pulse to fine crumbs and adjust butter so the mixture holds when pressed into the cups.
- → How can I tell when the bites are done baking?
Bake until the edges are set and the centers are slightly jiggly when you gently shake the pan. Overbaking will dry them out and create cracks.
- → What's the quickest way to soften cream cheese?
Leave it at room temperature for about 30–60 minutes. For faster softening, microwave in 10–12 second bursts, turning between bursts, so it warms but doesn't melt.
- → Can these be made gluten-free?
Use certified gluten-free chocolate sandwich cookies for the crust and verify all labels for cross-contact to make a gluten-free version.
- → How should I store or freeze the bites?
Store chilled in an airtight container for several days. For longer storage, freeze in a single layer then transfer to a sealed container; thaw in the refrigerator before serving, up to one month.