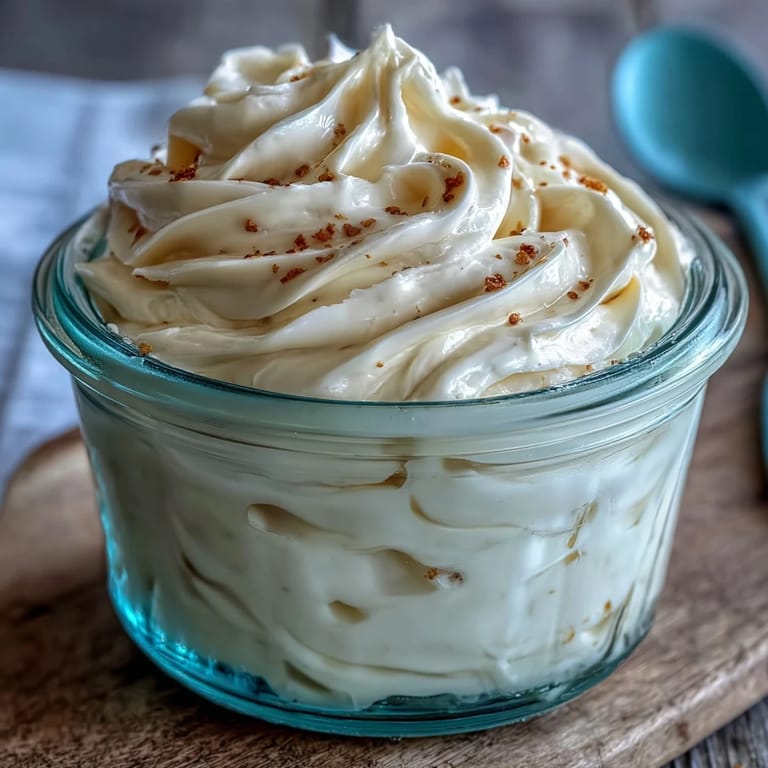
 Save to Pinterest
 One morning, I caught myself craving something extra for my avocado toast, and that was the first time I tried making homemade mayonnaise. The kitchen felt alive as the immersion blender hummed, swirling the egg and oil into a glossy spread. The simplicity of the process truly surprised me, and I grinned when the creamy mayo came together in just a minute or two. Since then, the sound of that little blender has become almost a ritual when I'm prepping sandwiches or salads. Even my partner was amazed at how much tastier it turned out compared to store bought options.
Last summer, I brought a batch to a picnic and watched everyone dip crunchy veggies in the homemade mayonnaise, asking about the ‘secret recipe.’ The fresh, tangy flavor drew smiles and made me feel like I’d brought something special, even though it was so easy. That moment became an ongoing joke with my friends that I always have mayonnaise ready at home. I even ended up sharing the recipe on a napkin for someone who swore it was life changing. It was the day mayo stopped being just a condiment for me.
Ingredients
- Egg (room temperature): The warmth helps it emulsify instantly, and I always double check it’s fresh for safety.
- Dijon mustard: Adds subtle heat and depth, also stabilizes the emulsion beautifully.
- White wine vinegar or lemon juice: Lifts the flavor and sharpens the taste, with lemon juice making it extra fresh.
- Neutral oil (sunflower, canola, or light olive): Ensures a smooth, mild base—avoid strong oils unless you prefer their flavor.
- Fine sea salt: This draws out the richness and highlights the creaminess.
- Freshly ground black pepper (optional): A gentle kick that I add on days when I want a more complex finish.
Tired of Takeout? 🥡
Get 10 meals you can make faster than delivery arrives. Seriously.
One email. No spam. Unsubscribe anytime.
Instructions
- Gather Your Ingredients:
- Set out your egg, mustard, vinegar or lemon juice, salt, and pepper in a tall blending container. Room temperature eggs make the difference, so I hold mine under warm water if needed.
- Add the Oil:
- Pour the oil gently over the other ingredients so they layer up—watching the golden sheen settle is oddly satisfying.
- Start Blending:
- Sink the immersion blender all the way to the bottom, then fire it up and listen for that first soft whip of emulsion.
- Emulsify Like Magic:
- Hold still for about ten seconds until the bottom turns creamy and pale, then slowly raise and lower the blender to fold in the oil.
- Finish and Taste:
- Keep blending until thick and glossy, which usually takes less than half a minute. Pause and taste—add salt or pepper if needed.
- Store Smart:
- Spoon it into a clean jar, seal tightly, and tuck it in the fridge. It stays fresh for a week, though it rarely lasts that long at my house.
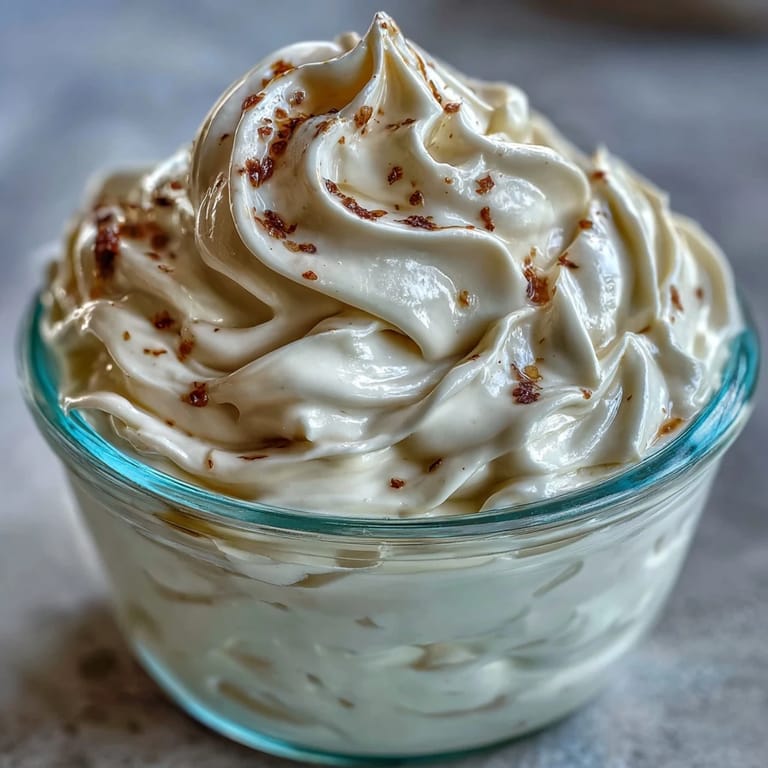 Save to Pinterest
 When I whipped up a batch for my little cousin’s grilled cheese lunch, he dipped his sandwich and declared it “the fancy mayonnaise.” Seeing that simple joy made me realize how much homemade touches can elevate even humble meals. For me, this mayo has often brought quiet moments of satisfaction to the busiest afternoons.
Quick Flavor Hacks
Sometimes I stir in a hint of garlic or a few herbs to make it pop—it’s like a mini adventure each time. The blender blends everything so smoothly it’s easy to get creative without worrying about texture. If I’m making lunch for friends, I love splitting the batch: half classic, half spiced up with chipotle or dill. The mayo consistently adapts to whatever dish I’m making. My favorite discovery was adding chili flakes for a fiery sandwich kick.
Troubleshooting and Fixes
Early on, I had a mayo batch stubbornly stay runny, and after some trial and error, learned to rescue it by blending in another egg. Now I always set aside an extra egg just in case. If it’s too tangy or bland, a gentle adjustment of vinegar or salt rights things quickly. The creamy thickness signals success—if you get a thin texture, don’t panic, just keep blending and tweaking. A little patience saves the day.
Serving and Storage Notes
Homemade mayonnaise tastes brightest fresh, but chilling deepens its flavor and keeps it silky smooth. I always label my jar with the date, and give it a little stir if it separates. The mayo pairs beautifully with everything from veggie sticks to roast potatoes and makes every sandwich feel gourmet. It’s hard not to scoop out a spoonful just to test it each time I open the fridge.
- Let it sit a few minutes at room temperature before using for best flavor.
- Keep it tightly sealed to stay fresh.
- Don’t forget: homemade means you can play with ingredients every batch.
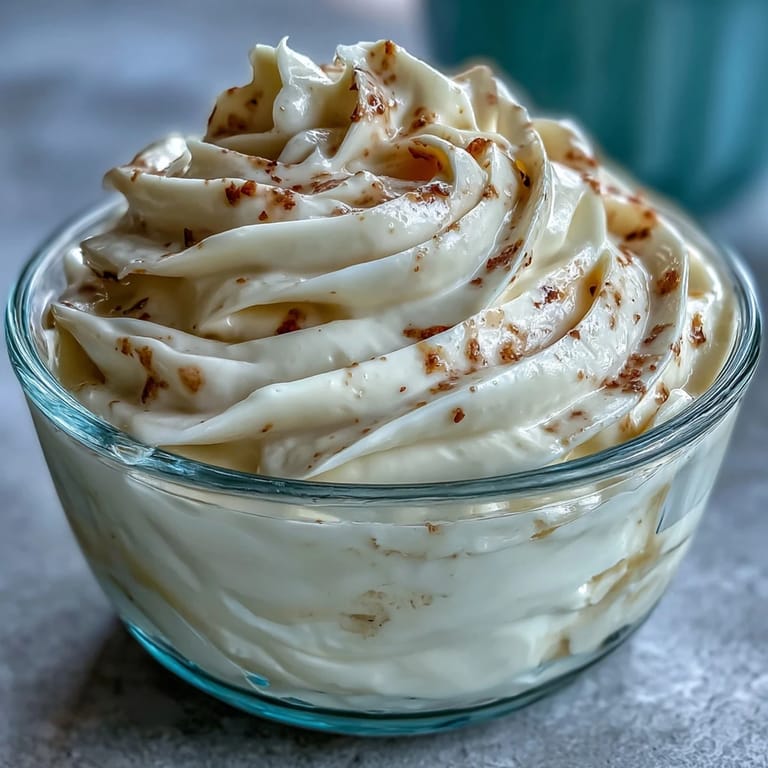 Save to Pinterest
 Mayonnaise made at home feels like a small triumph every time—whether it’s for a quick lunch or adding zing to a meal, you’ll never look at the store bought jar quite the same. Enjoy the process, and let your tastebuds guide you!
Questions & Answers
- → What type of oil works best?
Use neutral oils like sunflower, canola, or light olive oil for mild flavor and smooth texture.
- → How long will homemade mayonnaise last?
Store in a sealed jar in the refrigerator and use within one week for best quality and safety.
- → Can I use pasteurized eggs?
Yes, pasteurized eggs are suitable and reduce risk associated with raw egg consumption.
- → How do I make it tangier?
Add up to two teaspoons extra vinegar or lemon juice to brighten and balance flavors.
- → Can olive oil be substituted?
Olive oil can be used but will impart a stronger, distinctive taste compared to neutral oils.
- → Is an immersion blender required?
An immersion blender creates rapid emulsification; other blenders may not yield the same smooth consistency.