 Save to Pinterest
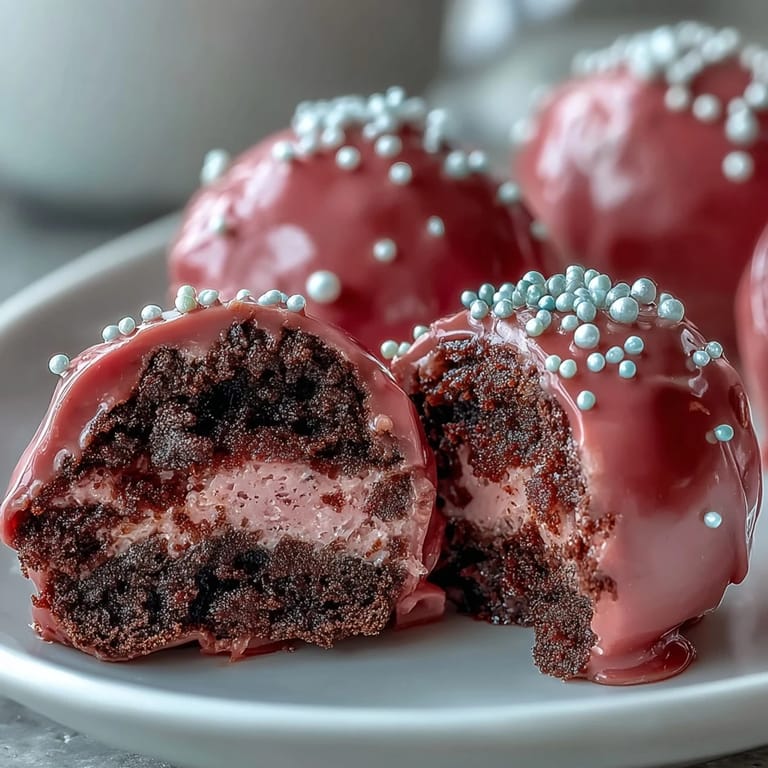
 My daughter came home from a birthday party buzzing about pink truffle balls someone's mom had made, and I knew I had to figure them out. She described them with wild hand gestures, palms cupping invisible spheres, eyes wide. I grabbed a pack of Oreos that night and started experimenting. By the third batch, I'd nailed the ratio of cookie to cream cheese, and the kitchen smelled like a bakery mixed with a candy shop.
I made these for a baby shower once, swirling the pink coating with a toothpick before it set to create marble patterns. The mom-to-be kept sneaking extras from the dessert table, and by the end of the afternoon, I'd promised to teach her the recipe. We stood in my kitchen the following weekend, rolling truffle balls while her toddler napped, and she admitted she'd never used a food processor before. Watching her face light up when the Oreos turned to fine crumbs in seconds was better than any compliment.
Ingredients
- Oreo cookies: The whole cookie goes in, filling and all, creating that signature speckled look and deep chocolate flavor that doesn't need any added cocoa.
- Cream cheese: Room temperature is non-negotiable here because cold cream cheese will leave you with lumps and a sore arm from mixing.
- Pink candy melts: These set up firmer than chocolate and give you that glossy, professional finish without tempering, plus the pink shade stays vibrant and cheerful.
- Vegetable shortening: Just a teaspoon thins the candy coating enough to glide smoothly over each truffle without clumping or creating thick shells.
- Sprinkles or edible pearls: A quick scatter while the coating is wet adds texture and a little sparkle that catches the light on a dessert platter.
Tired of Takeout? 🥡
Get 10 meals you can make faster than delivery arrives. Seriously.
One email. No spam. Unsubscribe anytime.
Instructions
- Crush the Oreos:
- Pulse the cookies in a food processor until they look like dark, fine sand with no chunks left. If you're using a rolling pin and bag method, take out any frustration you have because those cookies need to be powder.
- Mix the base:
- Fold the softened cream cheese into the cookie crumbs with a sturdy spatula, pressing and stirring until the mixture turns uniformly gray-brown and holds together when pinched. Your arm will get a workout, but the dough should feel like play dough when it's ready.
- Shape the truffles:
- Scoop a heaping tablespoon of mixture and roll it between your palms with gentle pressure to form smooth, crack-free balls. Line them up on parchment paper like little soldiers waiting for their uniforms.
- Chill until firm:
- Refrigerate the tray for 30 minutes or pop it in the freezer for 15 if you're impatient like me. They need to be cold enough that they won't fall apart when you dip them into warm candy coating.
- Melt the candy coating:
- Microwave the pink candy melts in short 30-second bursts, stirring after each one to avoid scorching. Stir in the vegetable shortening once melted for a thinner, shinier finish that drips off the fork cleanly.
- Dip each truffle:
- Drop a chilled ball into the melted coating, roll it gently with a fork to cover all sides, then lift and tap the fork handle on the bowl edge to shake off excess. Slide it back onto the parchment with a gentle nudge.
- Decorate immediately:
- While the coating is still wet and tacky, scatter your sprinkles or press on edible pearls. Once the candy sets, nothing will stick, so don't wait.
- Let them set:
- Leave the truffles at room temperature for about 20 minutes until the coating hardens to a smooth shell. If your kitchen is warm, a quick 10-minute chill in the fridge speeds things up.
- Serve and store:
- These taste best cold, straight from the fridge, where the truffle center is firm and the coating snaps cleanly. Keep them in an airtight container for up to a week, though they rarely last that long.
 Save to Pinterest
 One Valentine's Day, I made a triple batch and packaged them in clear cellophane bags tied with ribbon. My neighbor knocked on the door an hour after I dropped hers off, asking if I'd accidentally given her the wrong bag because they tasted too good to be homemade. That became the highest compliment I'd ever received in my kitchen.
Choosing Your Candy Coating
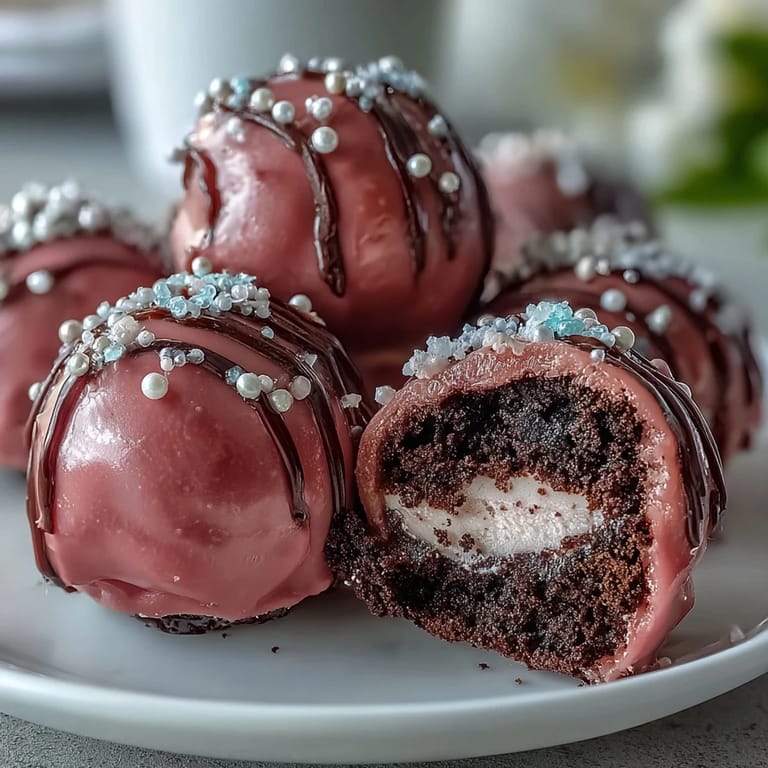
Candy melts come in dozens of colors now, stacked in the baking aisle like a crayon box. I've used pastel blue for baby showers, deep red for Christmas, and even swirled two colors together by drizzling contrasting shades over the base coat. White candy melts tinted with oil-based gel give you the most control over shade, letting you go from blush to hot pink with just a few extra drops. The coating sets faster than chocolate and doesn't require tempering, which means no streaks or bloom if the room temperature shifts.
Texture Variations Worth Trying
I once stirred a handful of mini chocolate chips into the truffle mixture before rolling, and the little pockets of melty chocolate made each bite feel like a surprise. Crushed candy canes during the holidays, finely chopped toasted pecans, or even a spoonful of peanut butter folded in can shift the flavor profile completely. A friend of mine rolls the finished truffles in crushed graham crackers before the final coating for extra crunch. The base recipe is forgiving enough to handle mix-ins without falling apart, so treat it like a canvas.
Serving and Presentation Ideas
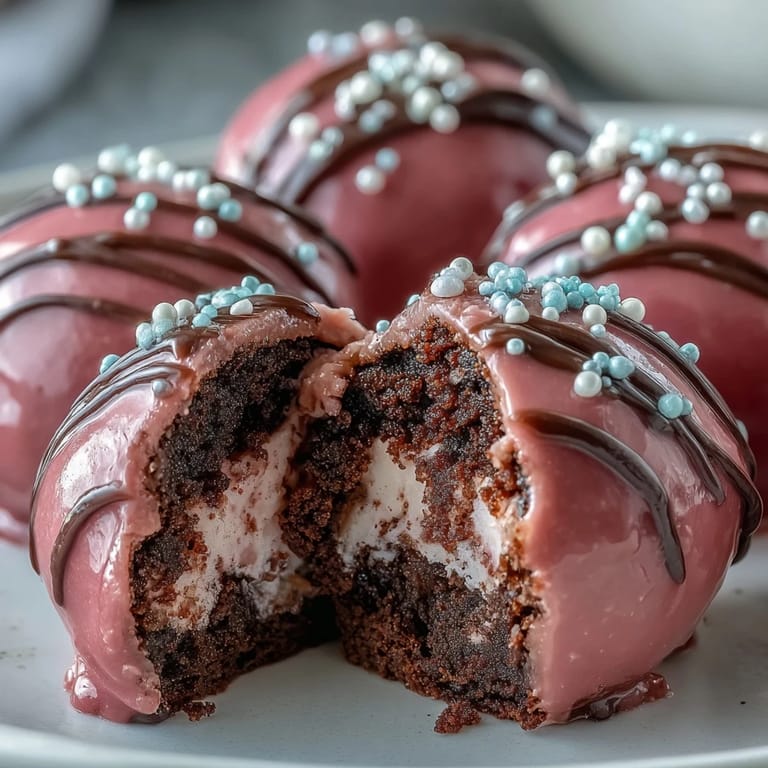
I like to pile these in a shallow bowl lined with a lace doily for parties, or tuck them into mini cupcake liners for a more formal look. They photograph beautifully, especially if you scatter a few extra sprinkles around the platter. For gifting, I stack them in small bakery boxes with tissue paper, and people always assume I bought them from a fancy chocolate shop. Serve them cold so the coating stays crisp and the center holds its shape when bitten.
- Use a small cookie scoop to keep the truffle balls uniform in size and professional looking.
- If the candy coating gets too thick while dipping, reheat it in 10-second bursts and stir.
- Leftover candy melts can be poured onto parchment, hardened, and saved for the next batch.
 Save to Pinterest
 These truffle balls have become my go-to whenever I need to bring something that looks impressive but doesn't chain me to the kitchen. Every time I pull a container from the fridge, I remember that baby shower, my daughter's wide-eyed wonder, and the neighbor who couldn't believe I'd made them myself.
Questions & Answers
- → Can I use different colors for the coating?
Absolutely. Candy melts come in various colors, or you can tint white melts with oil-based food coloring to match any party theme, holiday, or celebration.
- → How do I prevent the coating from cracking?
Ensure truffles are thoroughly chilled before dipping, and avoid extreme temperature changes. Adding a teaspoon of vegetable shortening to melted candy creates a smoother, more flexible coating.
- → Can I make these ahead of time?
Yes, these truffles store beautifully. Keep them in an airtight container in the refrigerator for up to one week. The coating helps maintain freshness while the centers stay perfectly creamy.
- → What's the best way to crush the Oreos?
A food processor gives the most consistent fine crumbs quickly. Alternatively, place cookies in a sealed zip-top bag and crush with a rolling pin until no large chunks remain.
- → Can I freeze these truffle balls?
You can freeze the uncoated truffle balls for up to 3 months. Thaw in refrigerator before coating. Coated truffles can also be frozen, though the coating may develop slight condensation.
- → Why is my coating too thick?
If the candy coating seems thick or difficult to dip, stir in vegetable shortening one teaspoon at a time until smooth and fluid. This creates an ideal dipping consistency.