 Save to Pinterest
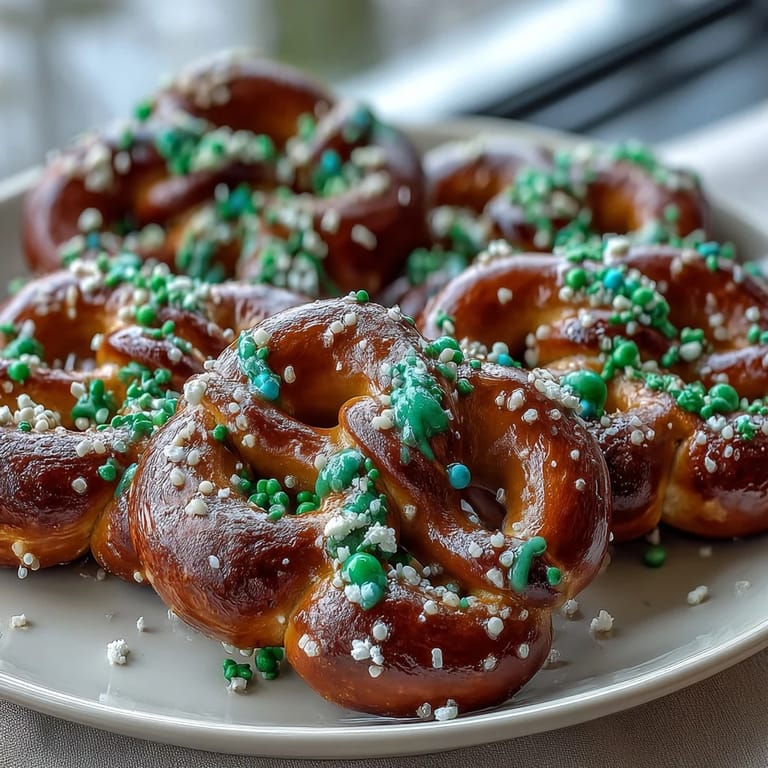
 Last March, my neighbor showed up at my door with a plate of the most charming little green pretzel bites I'd ever seen, shaped like perfect shamrocks with white sprinkles catching the light. She'd made them for her kids' school party that morning, and watching their faces light up when they bit into the crunchy pretzel gave me the exact push I needed to master this recipe myself. There's something magical about turning simple pantry staples into something festive that makes people smile before they even taste it. Now whenever St. Patrick's Day rolls around, I find myself arranging pretzel twists like I'm building tiny edible gardens, humming while the candy coating sets.
I'll never forget the quiet moment before my daughter's classroom party when I was arranging these on a platter at 7 a.m., still in my pajamas, and she wrapped her arms around my waist asking if people would really think they were special. Suddenly this simple candy-coated snack felt like the most important thing I'd ever made. When I picked her up that afternoon, her teacher pulled me aside to say they were the first thing to disappear from the dessert table, and my daughter had quietly told everyone her mom made them.
Ingredients
- Pretzel twists (90 small ones): These are your foundation, and using small rather than large ones keeps the shamrocks delicate and elegant; the slight saltiness is crucial because it cuts through the sweetness of the coating.
- Mini pretzel sticks (30): These create the stem and give you something sturdy to hold while dipping; pick ones that are relatively straight so they sit evenly.
- Green candy melts (340 g): Quality matters here because cheaper brands can seize up or taste waxy; I learned this the hard way by going for the bulk bin option once.
- Coconut oil or vegetable shortening (1 tsp): This is your secret weapon if the candy feels too thick, making it flow like silk without changing the flavor.
- Green and white sprinkles or sanding sugar: Sprinkles add personality while the coating is still tacky, so don't skip this step even if you think they're just for looks.
Tired of Takeout? 🥡
Get 10 meals you can make faster than delivery arrives. Seriously.
One email. No spam. Unsubscribe anytime.
Instructions
- Prep your workspace:
- Line your baking sheet with parchment paper and gather everything in arm's reach because once you start coating, you'll want to work quickly while the candy is still wet.
- Build your shamrocks:
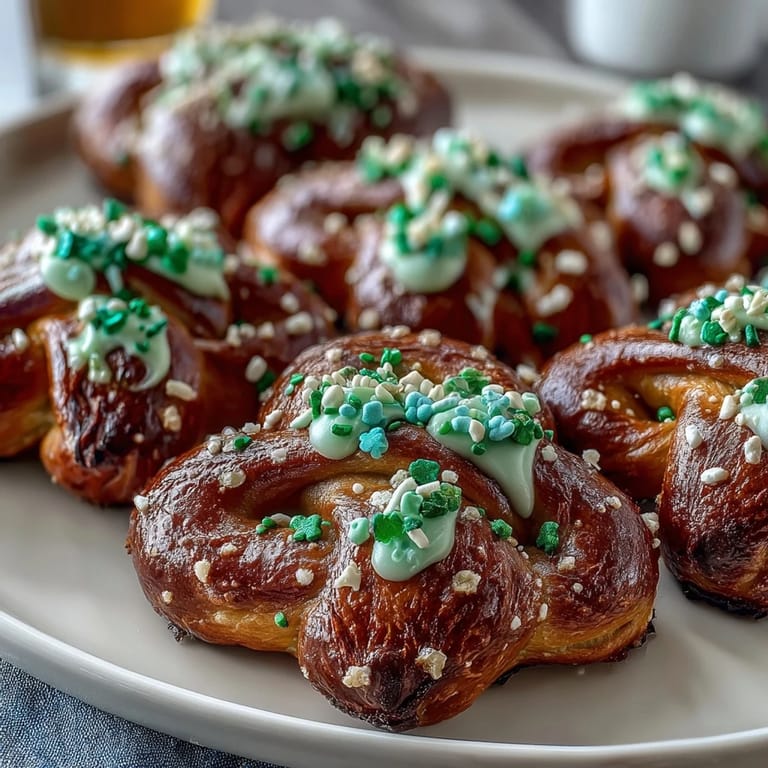
- Arrange three pretzel twists so their curved edges meet in the middle like they're hugging each other, then slot a mini pretzel stick at the base as the stem. You'll find a rhythm after the first few, and your hands will start knowing instinctively how to position them for maximum stability.
- Melt with care:
- Warm the green candy melts in a microwave-safe bowl in short 30-second bursts, stirring between each one to avoid overheating, which can make them grainy and frustrating. Stir in the coconut oil if your mixture feels too thick to coat smoothly.
- Coat generously:
- Using a fork or spoon, let the melted candy pool and drip over each shamrock, making sure the coating holds everything together and reaches into the crevices between pretzel pieces. This is where patience pays off because rushing causes uneven coverage.
- Decorate immediately:
- Sprinkle your green and white toppings on while the coating is still wet and tacky; if you wait too long, they'll just slide off sadly. Think of it like catching the perfect moment before the window closes.
- Let them set:
- Room temperature takes about 20 minutes, but if you're impatient like me, sliding them into the fridge cuts this to 10. The coating should feel firm to the touch and have that satisfying snap when you bite in.
- Serve with pride:
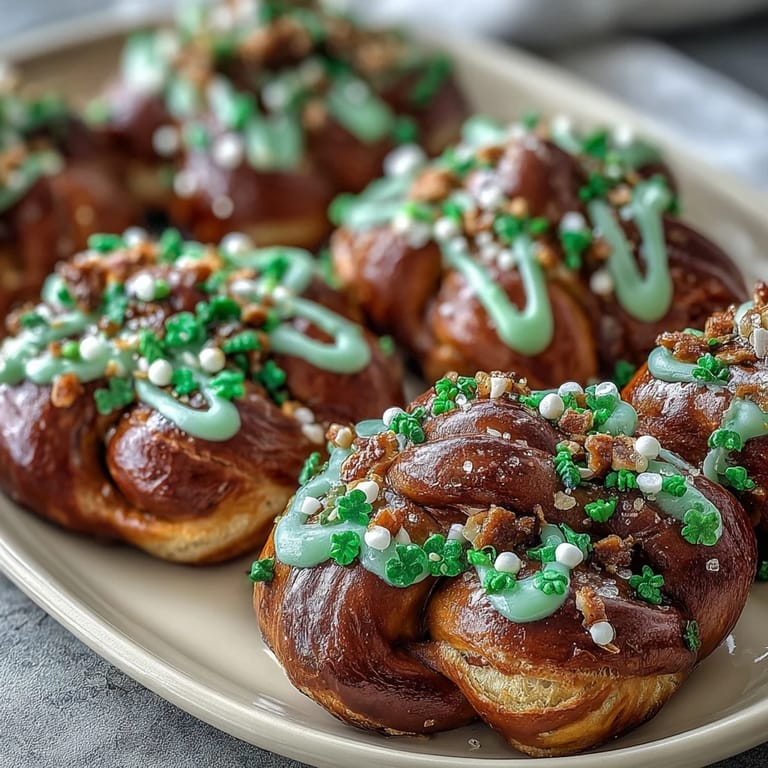
- Once completely set, gently lift each shamrock from the parchment and arrange them on a platter where they'll catch the light.
 Save to Pinterest
 There was an afternoon when my son's friend stayed for a snack and asked to help me make these, and we ended up laughing so hard at my clumsy attempt to arrange the pretzels that I gave up and let him take over. His shamrocks were lopsided and imperfect, but something about them felt more joyful than anything I could have made alone. Now whenever he comes over, he asks if we're making the lucky pretzel bites, and that small tradition has become more meaningful than I ever expected.
The Magic of Simple Assembly
There's something deeply satisfying about this recipe because it asks so little of you yet delivers such impressive results, which is a rare gift in cooking. No oven anxiety, no waiting for things to rise or bake, just your hands and some pretzels and the pure chemistry of melted candy creating something that looks far more complicated than it actually is. This is exactly the kind of recipe that builds confidence because success is genuinely within reach.
Flavor Variations to Explore
Once you've mastered the basic green coating, the possibilities expand in directions you might not expect. I've added a tiny drop of peppermint extract to the candy for a sophisticated minty edge that transforms these from purely sweet to slightly herbaceous, and it's absolutely worth experimenting with. White chocolate tinted with green food coloring gives you a richer, creamier bite if you want something less aggressively sweet than traditional candy melts.
Storing and Sharing Your Creation
These little bites stay fresh and crispy for up to five days in an airtight container at room temperature, which means you can make them the night before a party and actually enjoy some peace of mind. They transport beautifully in a cardboard box lined with parchment, making them ideal for school events or bringing to a neighbor's celebration. The combination of stable coating and sturdy pretzels means they won't crumble or melt, even if you're driving across town or stacking them carefully in a gift box.
- Store in a cool, dry place away from humidity because moisture is the only real enemy of these bites.
- If you're making them as gifts, stack them between layers of parchment in a pretty container so they look as good as they taste.
- Pack them last in your bag to prevent any shifting that might cause the sprinkles to knock off.
 Save to Pinterest
 These shamrock pretzel bites have quietly become the small tradition that marks the beginning of spring in my kitchen, a moment when celebration and ease collide into something genuinely special. Make them with someone you love, or keep some for yourself as a little edible reminder that the loveliest gestures often come from the simplest ingredients.
Questions & Answers
- → How do I shape the pretzels into shamrocks?
Arrange three small pretzel twists in a cloverleaf pattern with curves touching to form leaves and place a mini pretzel stick at the base as the stem.
- → What is the best way to melt the candy coating?
Use a microwave-safe bowl to melt the green candy melts in short intervals, stirring in between for smooth consistency; adding coconut oil can help thin the coating.
- → Can I substitute the green candy melts?
Yes, white chocolate colored with green food coloring can be used as an alternative for the candy coating.
- → How long should the coated pretzels set?
Allow the coated pretzel bites to set at room temperature for about 20 minutes or refrigerate for 10 minutes to firm up the candy coating.
- → How should these snacks be stored?
Store in an airtight container at room temperature for up to five days to maintain freshness and crunch.