 Save to Pinterest
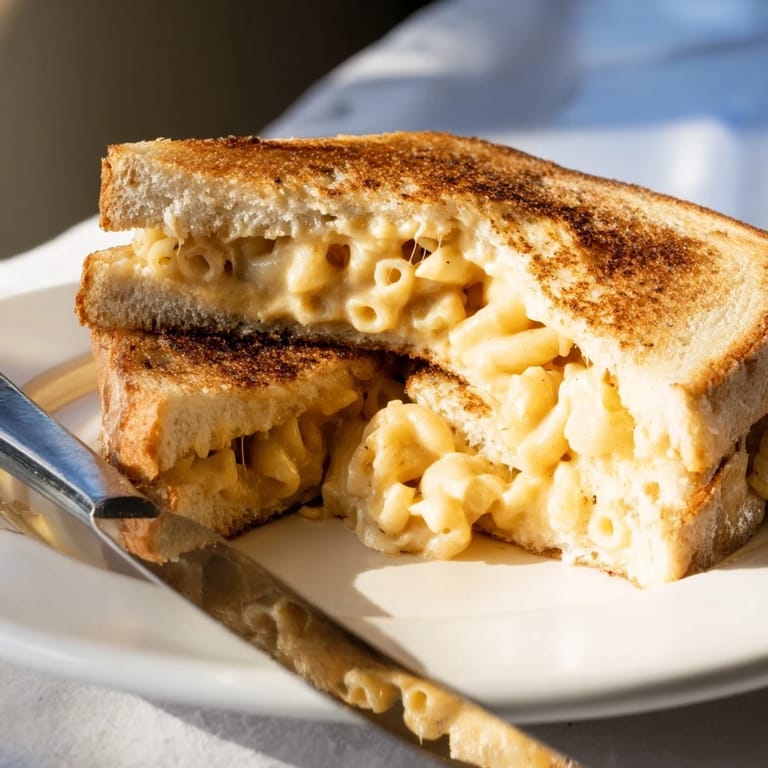
 My neighbor knocked on the door one rainy Tuesday holding a Tupperware of leftover mac and cheese. She was moving and cleaning out her fridge, and I hate wasting food. I stared at that container for a full minute before the idea hit me: what if I just put it between bread? The result was so ridiculously good that I made a fresh batch the very next day just to do it again. Now it's the sandwich I crave when nothing else will do.
I made these for my kids on a snow day, and they ate in total silence, which is how I know something is truly good. My son asked if we could have them for breakfast the next morning. I said no, but I understood the impulse. This sandwich has a way of making you forget about everything else for a few minutes.
Ingredients
- Elbow macaroni: The small tubes hold onto the cheese sauce beautifully and fit neatly inside the sandwich without poking through the bread.
- Sharp cheddar cheese: The sharpness cuts through the richness and gives the mac and cheese real personality instead of blandness.
- Unsalted butter: You need it twice, once in the sauce and once on the bread, and using unsalted lets you control the salt level perfectly.
- Whole milk: It makes the sauce silky and prevents it from being too thick or gluey, which matters when it's sandwiched between bread.
- Sourdough or sandwich bread: Sourdough adds a tangy contrast, but soft white bread crisps up beautifully and feels nostalgic.
- Cheddar or American cheese slices: Optional, but they add an extra gooey layer that melts into the mac and cheese and glues everything together.
Tired of Takeout? 🥡
Get 10 meals you can make faster than delivery arrives. Seriously.
One email. No spam. Unsubscribe anytime.
Instructions
- Cook the macaroni:
- Boil the water with salt, add the macaroni, and cook until just al dente, about 7 to 8 minutes. Drain it well so you don't end up with a watery sauce that soaks the bread.
- Make the cheese sauce:
- Melt the butter in the same pot, then stir in the drained macaroni, milk, shredded cheddar, and black pepper. Keep stirring until the cheese melts into a creamy sauce, then let it cool slightly so it thickens up and won't slide out of the sandwich.
- Assemble the sandwiches:
- Lay out your bread and butter one side of each slice. On the unbuttered side of four slices, pile about a quarter cup of mac and cheese, add a cheese slice if you want, then top with the remaining bread, buttered side out.
- Cook the sandwiches:
- Heat your skillet over medium heat and cook the sandwiches for 3 to 4 minutes per side, pressing gently with a spatula. You want golden, crispy bread and fully melted cheese.
- Rest and serve:
- Let the sandwiches rest for a minute or two before slicing so the filling sets slightly. Then cut and serve while they're still hot and oozing.
 Save to Pinterest
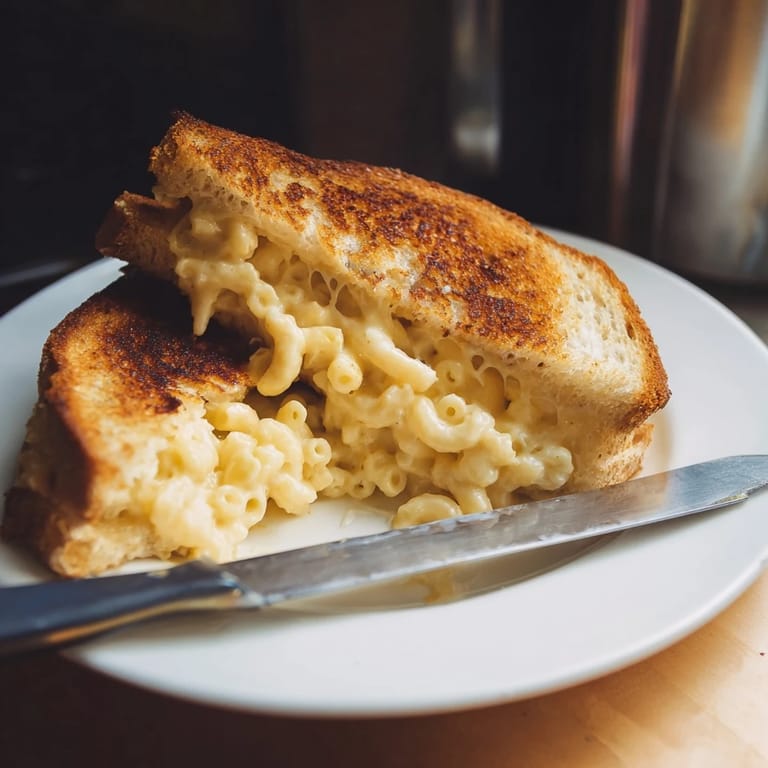
 The first time I served these at a casual get together, someone asked for the recipe before they even finished chewing. I watched three adults stand around my kitchen counter eating these sandwiches with the kind of focus usually reserved for important conversations. It reminded me that sometimes the best food is just the familiar made a little bit bolder.
Making It Your Own
I've stirred in crumbled bacon, chopped chives, and even a spoonful of caramelized onions into the mac and cheese before sandwiching it. A thin slice of tomato tucked inside adds a fresh burst that balances the richness. If you like heat, a few dashes of hot sauce or a smear of spicy mustard on the bread before assembly takes it in a completely different direction.
Pairing and Serving
This sandwich begs to be dunked into tomato soup, and I won't apologize for leaning into that cliche because it works. A simple green salad with a sharp vinaigrette helps cut through the richness. I've also served it with pickles on the side, and the acidity is exactly what you need after a few bites of melted cheese and butter.
Storage and Reheating
These sandwiches are best eaten immediately, but if you have leftovers, wrap them in foil and store in the fridge for up to two days. Reheat in a skillet over low heat or in a 350 degree oven until warmed through and crispy again. The microwave will make them soggy, so avoid it if you can.
- You can make the mac and cheese a day ahead and keep it covered in the fridge.
- Assemble sandwiches right before cooking for the crispiest results.
- Leftover mac and cheese from any recipe works perfectly here.
 Save to Pinterest
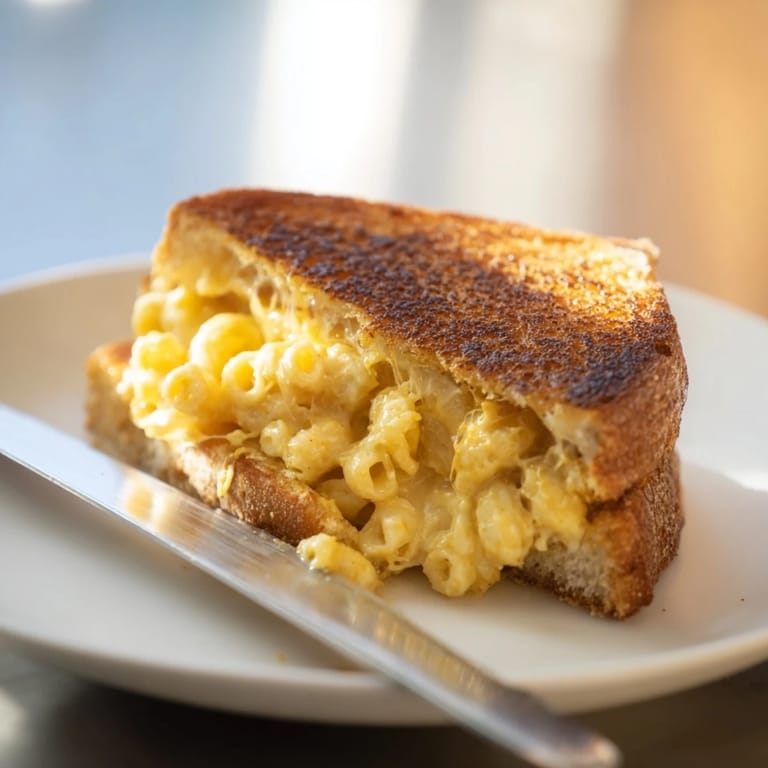
 This sandwich is proof that comfort food doesn't have to be complicated to feel special. Make it once, and I promise you'll find excuses to make mac and cheese just so you can turn it into this.
Questions & Answers
- → Can I use store-bought mac and cheese for this sandwich?
Yes, absolutely. Leftover or prepared mac and cheese works perfectly. You'll need about 1 cup total for four sandwiches. Cold mac and cheese may need a few seconds in the microwave to soften before spreading.
- → What type of bread works best?
Sourdough and sandwich bread are ideal, but you can also use brioche, Italian bread, or thick-cut white bread. Avoid thin bread as it may tear under the weight of the filling.
- → How do I prevent the mac and cheese from leaking out?
Let the cheese sauce cool and thicken slightly before assembling. Don't overfill each sandwich—about 1/4 cup per sandwich is the right amount. Press gently while cooking to keep everything contained.
- → Can I prepare these sandwiches in advance?
You can assemble them up to 2 hours ahead, but don't cook until ready to serve. Keep assembled sandwiches covered in the refrigerator. Add a minute or two to the cooking time if griddling from cold.
- → What are good side dishes to serve with this?
Tomato soup is the classic pairing. You can also serve with pickles, coleslaw, roasted vegetables, or a simple green salad to balance the richness of the sandwich.
- → How can I make this vegetarian?
This sandwich is naturally vegetarian as written. To enhance it further, add crispy bacon bits, caramelized onions, or sautéed mushrooms to the mac and cheese layer.