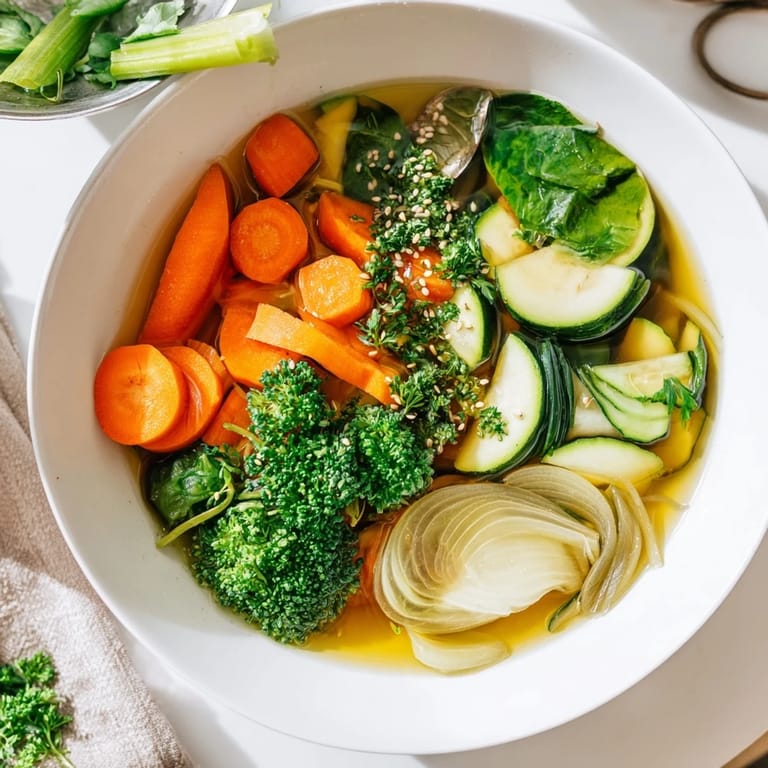
 Save to Pinterest
 Last winter when my knees started aching from too many morning runs on pavement, my grandmother suggested making broth the way she did in her village. She swore by the healing properties of slow-simmered bones and roots, so I spent a rainy Sunday afternoon developing this recipe. The golden elixir that filled my kitchen made the whole house smell like warmth and comfort. After two weeks of having a bowl every day, I noticed something shifted—not just in how my joints felt, but my skin had this glow that three expensive serums had never achieved.
My friend Sarah came over during her first week of recovering from surgery, and I served her this broth while we sat on my couch watching terrible movies. She took one sip, closed her eyes, and said it tasted like being hugged from the inside. Now whenever someone I love is under the weather or just having a rough week, I show up at their door with mason jars of this golden liquid. Its become my love language in bowl form.
Ingredients
- 1.5 liters bone broth: Homemade gives you the most gelatin and collagen, but if you must buy it, look for one thats been simmered at least 12 hours and has a slightly jiggly consistency when cold
- 1 medium yellow onion, quartered: Leave the skin on for a richer golden color, then remove it with the other solids after simmering
- 4 cloves garlic, smashed: Dont chop—smashing releases more flavor compounds while keeping the garlic intact enough to strain out later
- 1 thumb-sized piece fresh ginger, sliced: No need to peel it, just give it a quick scrub and slice into coins
- 1 thumb-sized piece fresh turmeric, sliced: Wear gloves or your fingers will turn yellow for days, and if you cant find fresh, ground works but add it during the last 20 minutes so it doesnt turn bitter
- 2 tbsp apple cider vinegar: This is the secret that pulls minerals and collagen from the bones into your broth
- 1 tsp whole black peppercorns: Essential for activating turmerics curcumin so your body can actually absorb it
- 1 tsp sea salt: Start with less, you can always add more at the end
- 2 medium carrots, peeled and sliced: Cut them on the diagonal for prettier presentation
- 2 celery stalks, sliced: Include some of the leafy tops for extra flavor
- 1 cup broccoli florets: Cut them small enough to eat with a spoon
- 1 cup baby spinach: Add it at the very end so it keeps its bright green color
- 1 zucchini, sliced: Half moons look nice and cook evenly
- 2 tbsp chopped fresh parsley or cilantro: I use both for extra freshness
- 1 tbsp sesame seeds: Toast them in a dry pan for 2 minutes before serving for nutty depth
- Lemon wedges: The acid brightens everything and helps your body absorb more nutrients
Tired of Takeout? 🥡
Get 10 meals you can make faster than delivery arrives. Seriously.
One email. No spam. Unsubscribe anytime.
Instructions
- Build your broth base:
- Combine broth, onion, garlic, ginger, turmeric, vinegar, peppercorns, and salt in your largest pot. You want enough room for everything to dance around without spilling over.
- Let it simmer slowly:
- Bring to a gentle boil, then lower heat until bubbles barely break the surface. Cover and let it work its magic for 90 minutes—your kitchen will smell incredible.
- Strain and clarify:
- Pour everything through a fine mesh sieve into a clean pot. Press gently on the solids to extract all the liquid, but dont force it or your broth will get cloudy.
- Add the hearty vegetables:
- Return broth to medium heat and add carrots, celery, and broccoli. Let them simmer for about 10 minutes until tender but not mushy.
- Finish with delicate greens:
- Drop in zucchini and spinach for just 2 to 3 minutes. You want them wilted but still vibrant, not sad and gray.
- Season perfectly:
- Taste your broth and add more salt if needed. I always find I need another pinch at this stage.
- Make it beautiful:
- Ladle into four bowls and finish with herbs, sesame seeds, and a generous squeeze of fresh lemon juice right at the table.
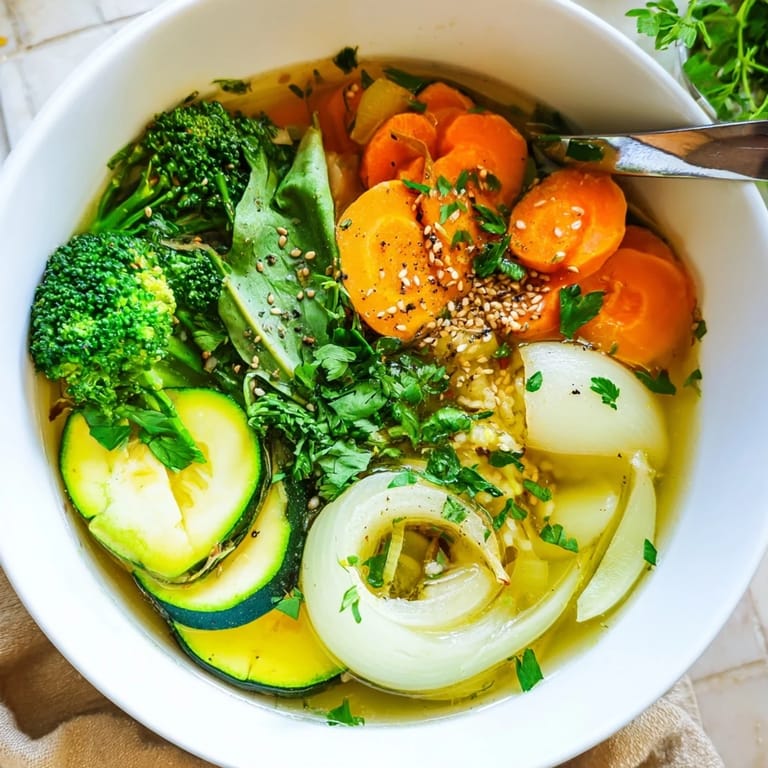 Save to Pinterest
 This recipe has become my go-to gift for new parents and friends recovering from illness. Theres something deeply comforting about receiving food that was made with intention, that nourishes you from the inside out. Last month I dropped off a batch to my neighbor who was going through chemotherapy, and she told me it was the first thing that actually tasted good in weeks.
Making It Your Own
Sometimes I add mushrooms during the last 10 minutes for extra immune support. In spring, I swap in asparagus and peas. When my niece visits and refuses anything green, I use zucchini noodles instead and she happily slurps down two bowls. The template stays the same, but the vegetables change with the seasons and who Im feeding.
Batch Cooking Wisdom
Double the broth base and freeze half in mason jars for those days when cooking feels impossible. Leave an inch of headspace so the jars dont crack when the liquid expands. Theres nothing quite like pulling a homemade broth from the freezer on a busy weeknight and knowing dinner is mostly done.
Serving Suggestions
I love serving this with crusty gluten-free bread for dipping, even though Im not usually a bread person. The way it soaks up that spiced broth is worth every carb. When I want something more substantial, I add shredded chicken or soft-boiled eggs. My partner swirls in a spoonful of coconut milk at the end for creaminess.
- If youre adding protein, do it during the last 5 minutes so it doesnt get tough
- Leftovers keep beautifully in the fridge for up to 5 days and actually taste better on day 3
- Store garnishes separately and add them fresh each time
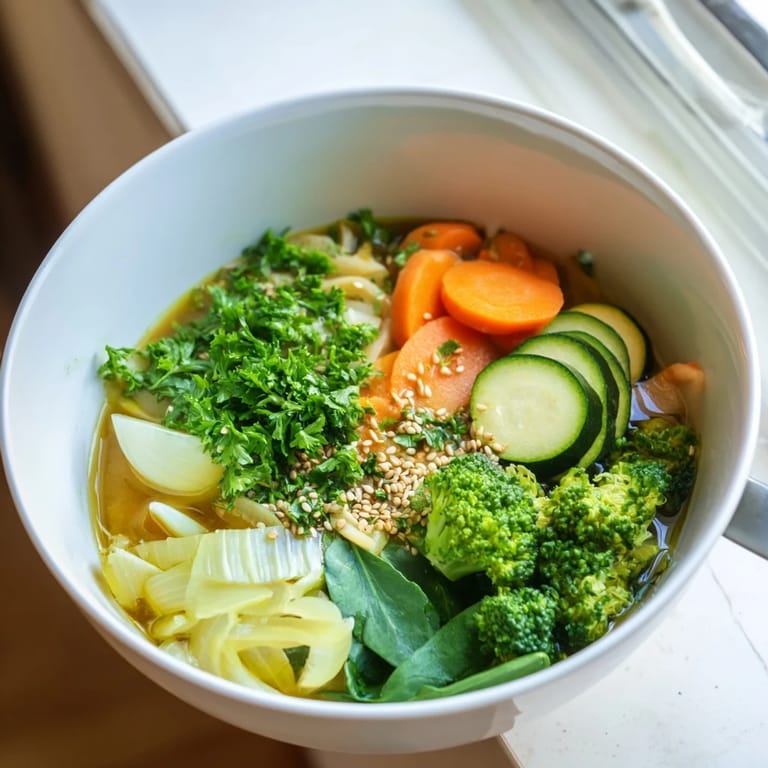 Save to Pinterest
 Every bowl is medicine you make yourself, and theres profound power in that. I hope this recipe finds you exactly when you need it most.
Questions & Answers
- → What makes this broth bowl collagen-boosting?
The bone broth base is rich in natural collagen, which is extracted during the long simmering process. This collagen supports skin elasticity, joint health, and gut function when consumed regularly.
- → Can I make this vegetarian?
Yes, simply substitute mushroom broth or vegetable broth for the bone broth. While you'll lose the collagen benefits, you'll still gain nourishment from the vegetables and anti-inflammatory spices.
- → How long will the broth keep in the refrigerator?
The prepared broth bowl will keep for 4-5 days when stored in an airtight container in the refrigerator. The flavors often deepen after a day or two. Reheat gently on the stovetop.
- → Can I freeze this broth bowl?
Yes, this freezes well for up to 3 months. For best texture, freeze the broth separately from the vegetables, or slightly undercook the vegetables before freezing so they don't become mushy when reheated.
- → What vegetables work best in this bowl?
Hardy vegetables like carrots, celery, broccoli, and zucchini hold up well during simmering. You can also add kale, bok choy, mushrooms, or seasonal greens based on preference and availability.
- → Why add apple cider vinegar to the broth?
Apple cider vinegar helps extract minerals and nutrients from the bones and vegetables during simmering. It also adds a subtle brightness that balances the earthy flavors of the turmeric and ginger.